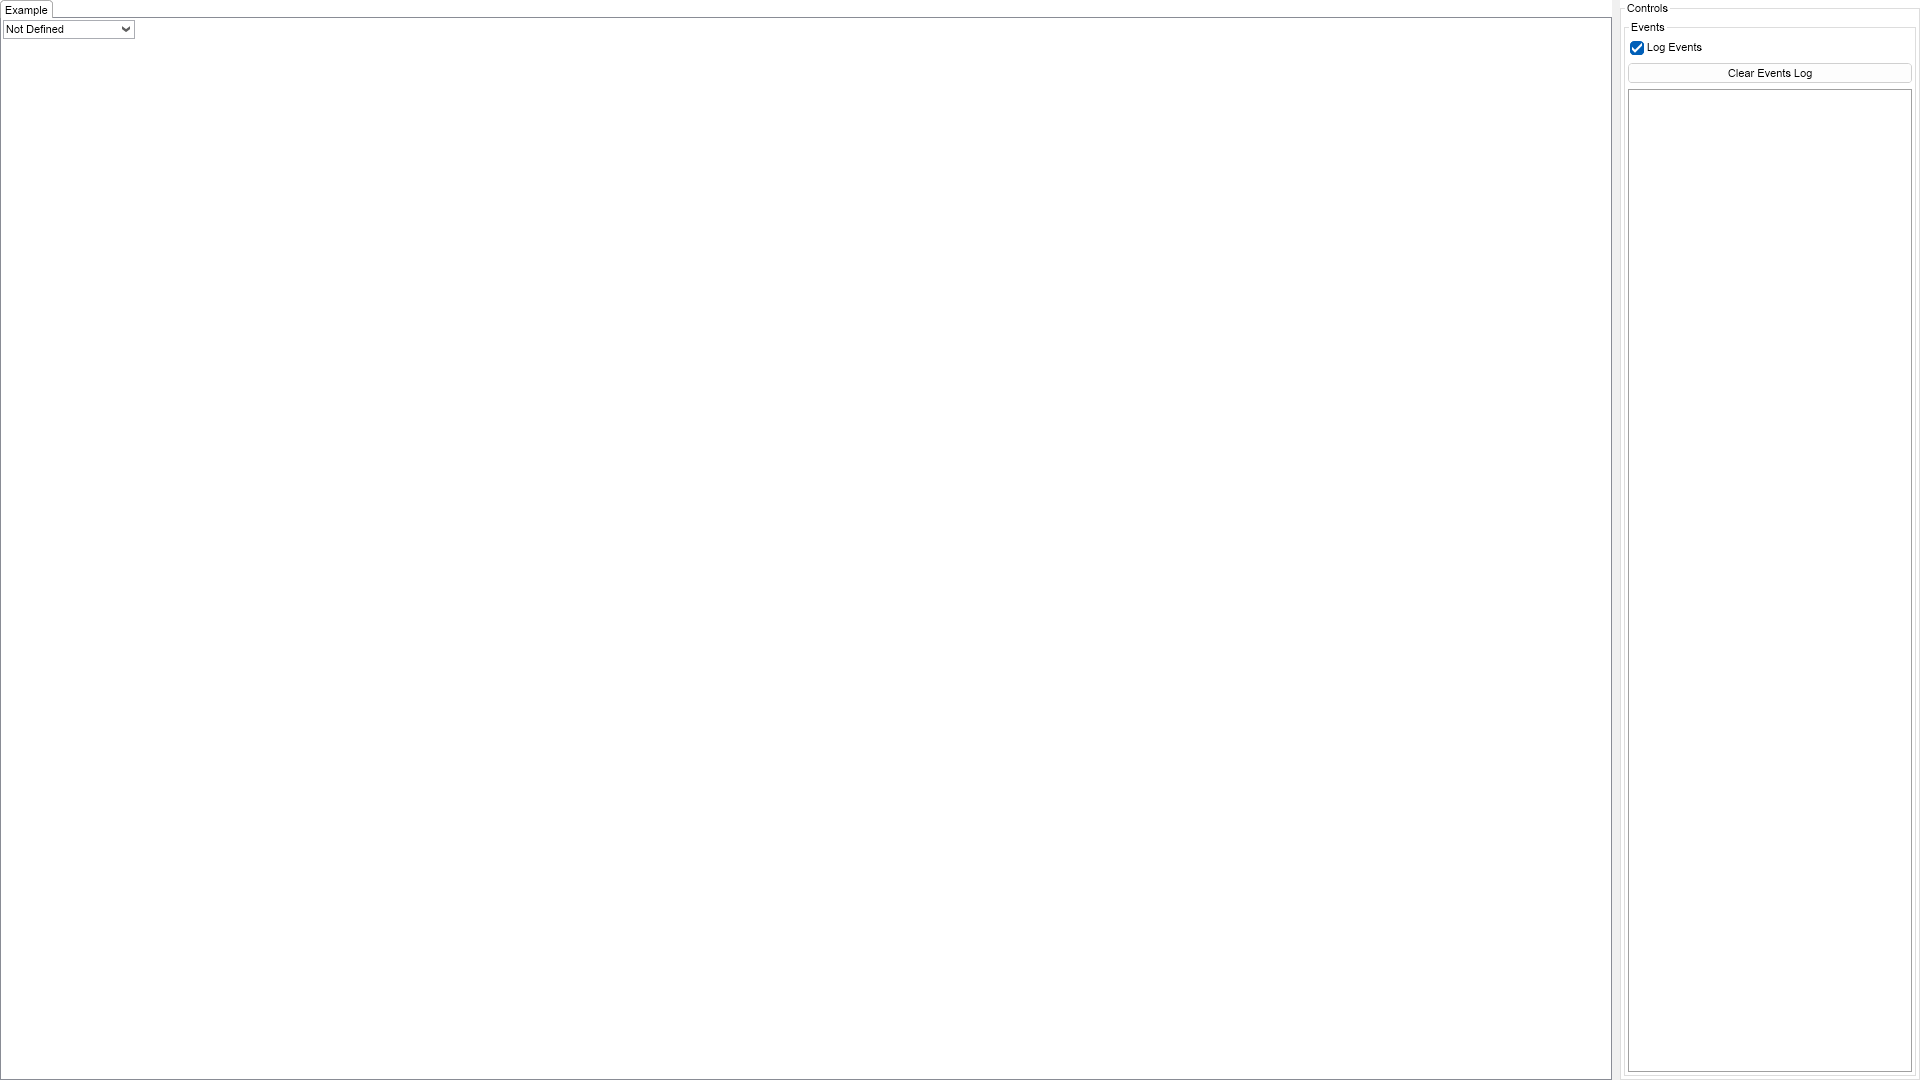
This example demonstrates how to create and configure a time span box. Using the controls on the right you can modify various aspects of the time span box.

| Language: C# |
using Nevron.Nov;
using Nevron.Nov.Dom;
using Nevron.Nov.Graphics;
using Nevron.Nov.Layout;
using Nevron.Nov.UI;
using Nevron.Nov.Windows.Forms;
using System;
using System.Windows.Forms;
namespace NovWinFormsProject
{
public partial class Form1 : Form
{
#region Constructors
public Form1()
{
InitializeComponent();
// Set form title
Text = "NOV WinForms - NTimeSpanBoxExample";
// Create the NOV example and its controls
NWidget exampleContent = CreateExampleContent();
NWidget exampleControls = CreateExampleControls();
if (exampleControls != null)
{
exampleControls.PreferredWidth = 300;
}
// Place the example and its controls in a pair box
NPairBox pairBox = new NPairBox(exampleContent, exampleControls);
pairBox.FillMode = ENStackFillMode.First;
pairBox.FitMode = ENStackFitMode.First;
pairBox.Margins = new NMargins(NDesign.HorizontalSpacing, NDesign.VerticalSpacing);
// Host the example in the form
NNovWidgetHost host = new NNovWidgetHost(pairBox);
host.Dock = DockStyle.Fill;
Controls.Add(host);
}
#endregion
#region Example
public NWidget CreateExampleContent()
{
NTimeSpanBox timeSpanBox = new NTimeSpanBox();
timeSpanBox.HorizontalPlacement = ENHorizontalPlacement.Left;
timeSpanBox.VerticalPlacement = ENVerticalPlacement.Top;
// Add some time spans to the box
timeSpanBox.AddItem(TimeSpan.MinValue);
timeSpanBox.AddItem(TimeSpan.Zero);
timeSpanBox.AddItem(TimeSpan.FromMinutes(10));
timeSpanBox.AddItem(TimeSpan.FromMinutes(15));
timeSpanBox.AddItem(TimeSpan.FromMinutes(30));
timeSpanBox.AddItem(TimeSpan.FromHours(1));
timeSpanBox.AddItem(TimeSpan.FromHours(1.5));
timeSpanBox.AddItem(TimeSpan.FromHours(2));
timeSpanBox.AddItem(TimeSpan.FromHours(3));
timeSpanBox.AddItem(TimeSpan.FromHours(6));
timeSpanBox.AddItem(TimeSpan.FromHours(8));
timeSpanBox.AddItem(TimeSpan.FromHours(12));
timeSpanBox.AddItem(TimeSpan.FromDays(1));
timeSpanBox.AddItem(TimeSpan.FromDays(1.5));
timeSpanBox.AddItem(TimeSpan.FromDays(2));
// Add the "Custom..." option
timeSpanBox.AddCustomItem();
// Select the first item
timeSpanBox.SelectedIndex = 0;
// Subscribe to the SelectedIndex changed event
timeSpanBox.SelectedIndexChanged += OnTimeSpanBoxSelectedIndexChanged;
return timeSpanBox;
}
public NWidget CreateExampleControls()
{
m_EventsLog = new NExampleEventsLog();
return m_EventsLog;
}
public string GetExampleDescription()
{
return @"
This example demonstrates how to create and configure a time span box. Using the controls on the right you can
modify various aspects of the time span box.
";
}
///
/// Gets the relevant documentation links for the example
///
///
public (string Name, string Url)[] GetDocumentationUrls()
{
return new[]
{
("Date Time Box", "https://www.nevron.com/docs/openvision/ui-date-time-box.html"),
("Drop Down Edits Overview", "https://www.nevron.com/docs/openvision/ui-drop-down-edits-overview.html"),
};
}
#endregion
#region Implementation
#endregion
#region Event Handlers
private void OnTimeSpanBoxSelectedIndexChanged(NValueChangeEventArgs arg)
{
NTimeSpanBox timeSpanBox = (NTimeSpanBox)arg.TargetNode;
// Log the selected time span
TimeSpan timeSpan = timeSpanBox.SelectedTimeSpan;
if (timeSpan != TimeSpan.MinValue)
{
m_EventsLog.LogEvent("Selected time span: " + timeSpan.ToString());
}
else
{
m_EventsLog.LogEvent("Selected time span: none");
}
}
#endregion
#region Fields
private NExampleEventsLog m_EventsLog;
#endregion
#region Static Methods
#endregion
#region Constants
#endregion
#region Nested Types
#endregion
}
}